

How-To: Sizing, Hanging & Arranging
How to Hang Pictures Without Nails That Hold
Nail-free methods really do hold — on the right surface, at the right weight, with margin. The honest limits matter more than the headline ratings on the packet.
Key Takeaways
- Adhesive strips suit light pieces on smooth painted drywall, with the largest picture strips commonly rated around 4 pounds per pair — work with margin, so a 9-pound framed piece belongs on three pairs, not two.
- Never hang anything heavy on adhesive above a bed, a crib, or a sofa; adhesive failures are silent and happen on their own schedule.
- Respect surface limits: no strips on wallpaper, derate by half on textured walls, expect steam to loosen them in humid bathrooms, and wait at least a week for fresh paint to cure.
- A picture rail is the strongest nail-free system where one exists — run two wires per wide piece to separate hooks so it hangs level and can be rebalanced without new holes.
- Weigh the piece before choosing a method, and drill anyway for anything much over about 20 pounds, anything valuable or fragile, or walls that are wallpapered, heavily textured, or humid.
Renters, owners of crumbly plaster, and the simply commitment-averse all ask the same question: what holds a picture up without a hole in the wall? Several things do — within limits that marketing understates. This guide assesses how to hang pictures without nails, honestly: what each can carry, on which surfaces, for how long, and where each quietly fails. Every method below trades capacity for reversibility; the skill is matching the trade to the piece. For renters especially, these methods are the toolkit behind rental-friendly wall art that respects the lease.
How to hang pictures without nails: adhesive strips
Picture-hanging strips pair a hook-and-loop fastener with foam adhesive tabs that release by stretching. They genuinely work — under the conditions printed in small type. Ratings are per the maker, on ideal surfaces: the largest picture strips are commonly rated around 4 pounds per pair, so a set of four pairs carries a headline 16 pounds. Treat the headline as a ceiling, not a plan. Work with margin: a 9-pound framed piece belongs on three pairs (12 pounds of rated capacity), not two, because real walls are not the test lab. Then respect the surface list, which is where strips earn their honest caveats:
- Smooth painted drywall: the home turf — full rating, clean release when the tab is pulled straight down, slowly.
- Wallpaper: no. The adhesive can bond to the paper better than the paper is bonded to the wall, and removal takes wallpaper with it.
- Texture: orange-peel and knockdown finishes cut the contact area; derate by half, or choose another method.
- Humidity: bathroom steam loosens adhesive over months; expect to re-seat or lose pieces in wet rooms.
- Fresh paint: wait for a full cure — at least a week, and longer is safer — before sticking anything to it, or the paint leaves with the strip.
One rule has no exceptions: nothing heavy hangs on adhesive above a bed, a crib, or a sofa. Adhesive failures are silent and happen at night, on their own schedule.
Picture rails: the pre-war answer
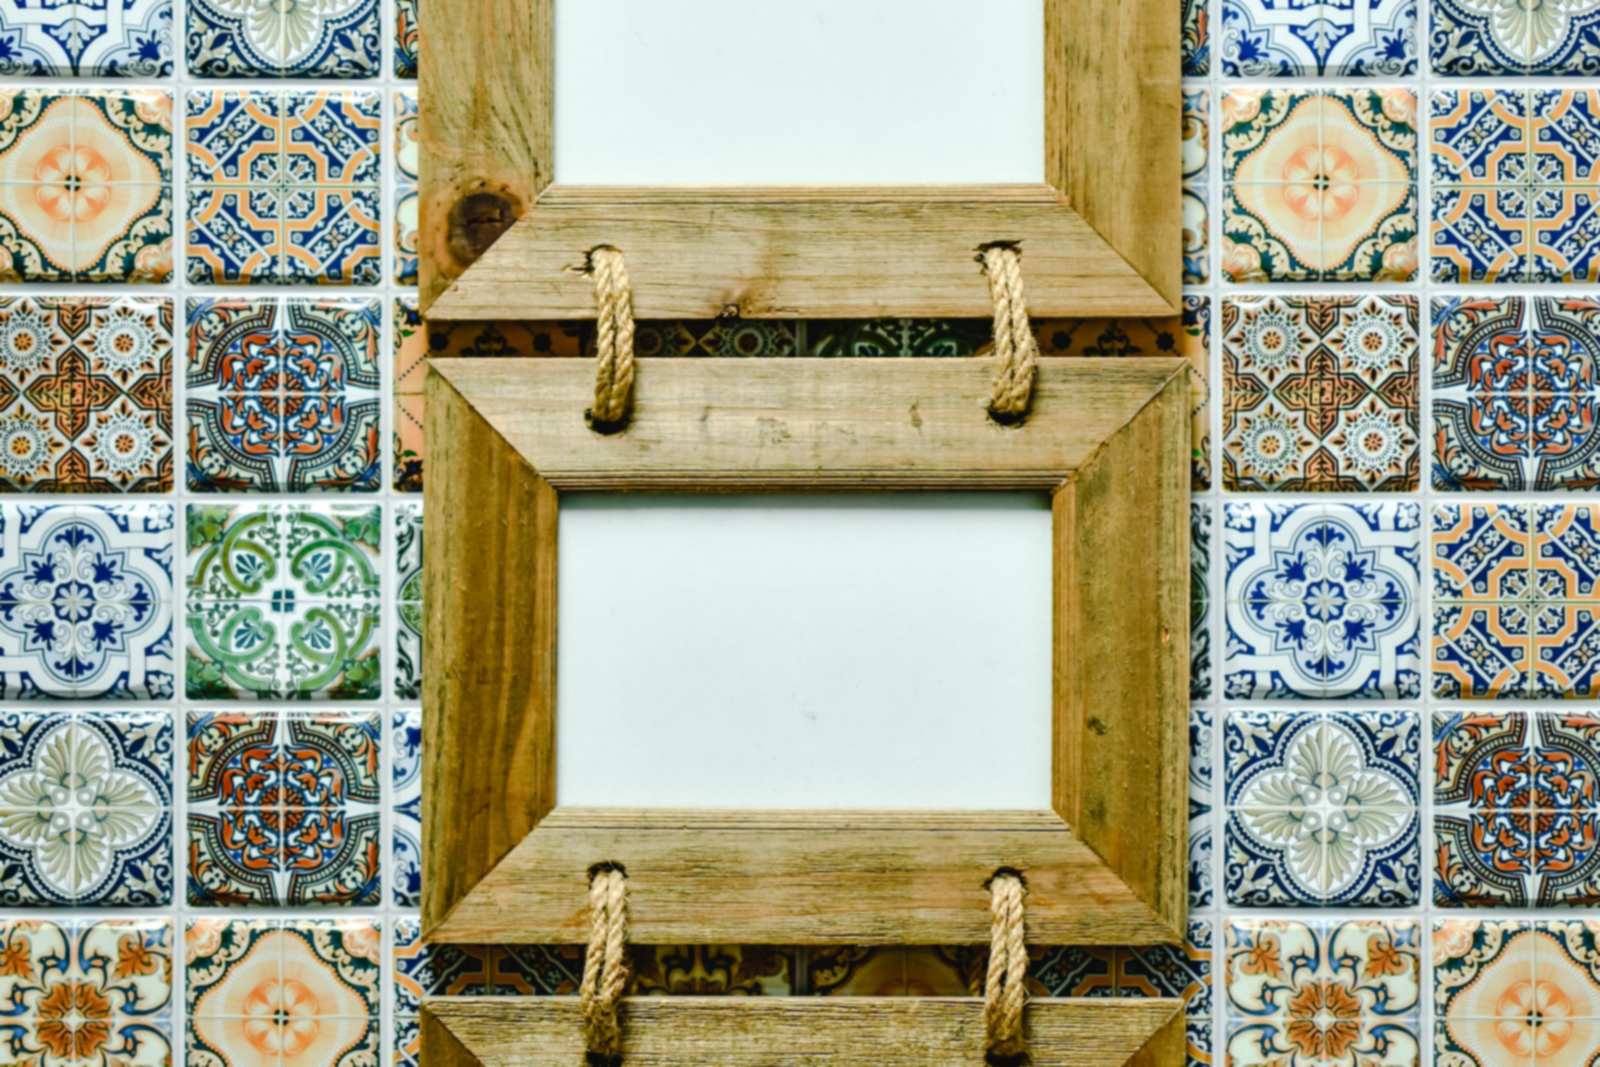
A picture rail is a molding run near the ceiling from which hooks hang, carrying frames on wires or cords. It is the standard fitting in older homes with plaster-and-lath walls — walls that punish drilling — and it remains the strongest nail-free system: the load rides on the rail and its fasteners, not on a patch of wall surface. Two wires per wide piece keep it from tilting; sliding hooks let you re-balance a whole wall in minutes without a single new hole. Many rentals in older buildings already have the rail, waiting under paint. If yours does, buy the hooks before you buy strips. If it does not, installing one is a landlord conversation — but a reversible one, and the answer is often yes precisely because the system exists to spare the walls. Height on a rail is set by wire length, and the arithmetic is direct: the rail is fixed near the ceiling, so to lower a piece’s center by 3 inches, lengthen each side’s wire or cord by 3 inches — hooks slide along the rail for width, wires lengthen for height, and a rail wall can be re-composed in an afternoon with nothing but a step stool. Run two wires per piece, each to its own hook, spaced along the rail roughly under the piece’s edges: the piece hangs level, stays level, and never asks a single point to carry a wide load.
Ledges and leaning: gravity, supervised
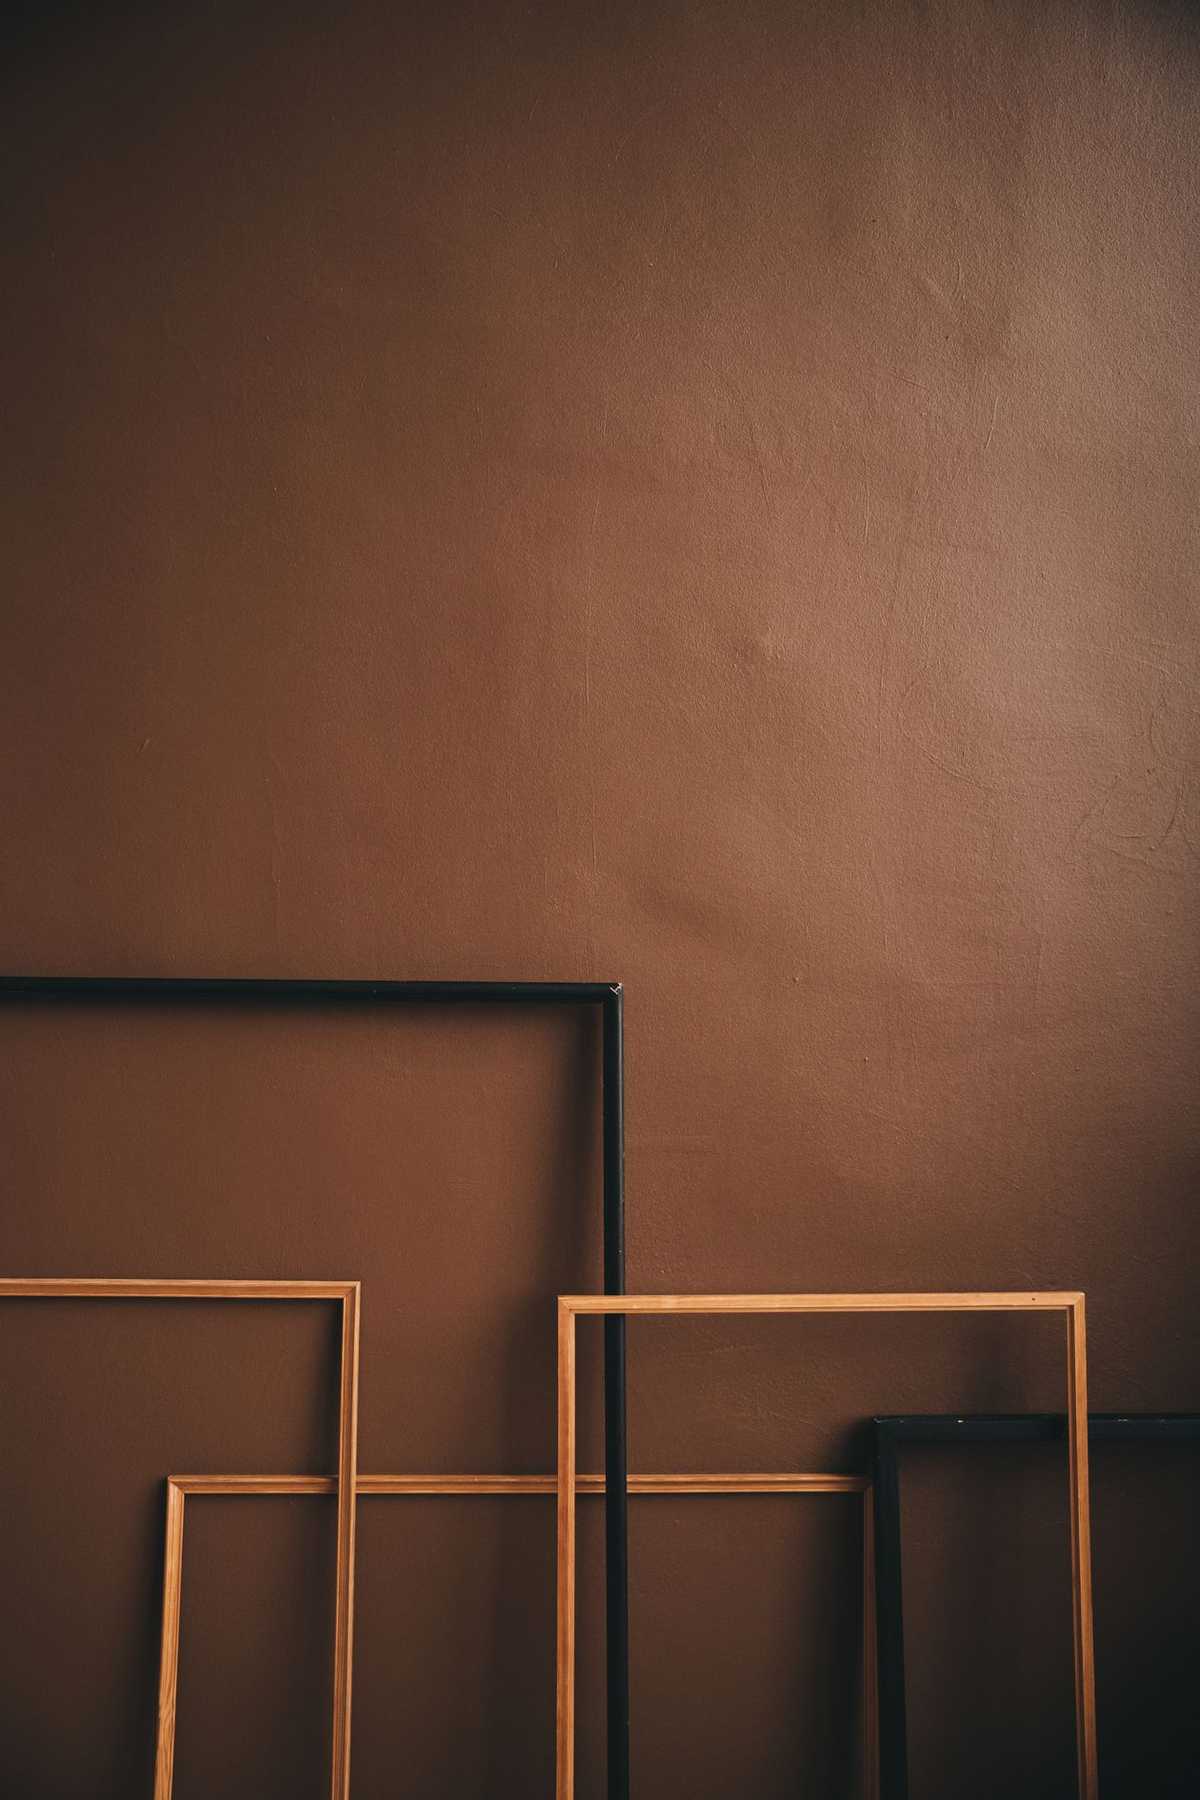
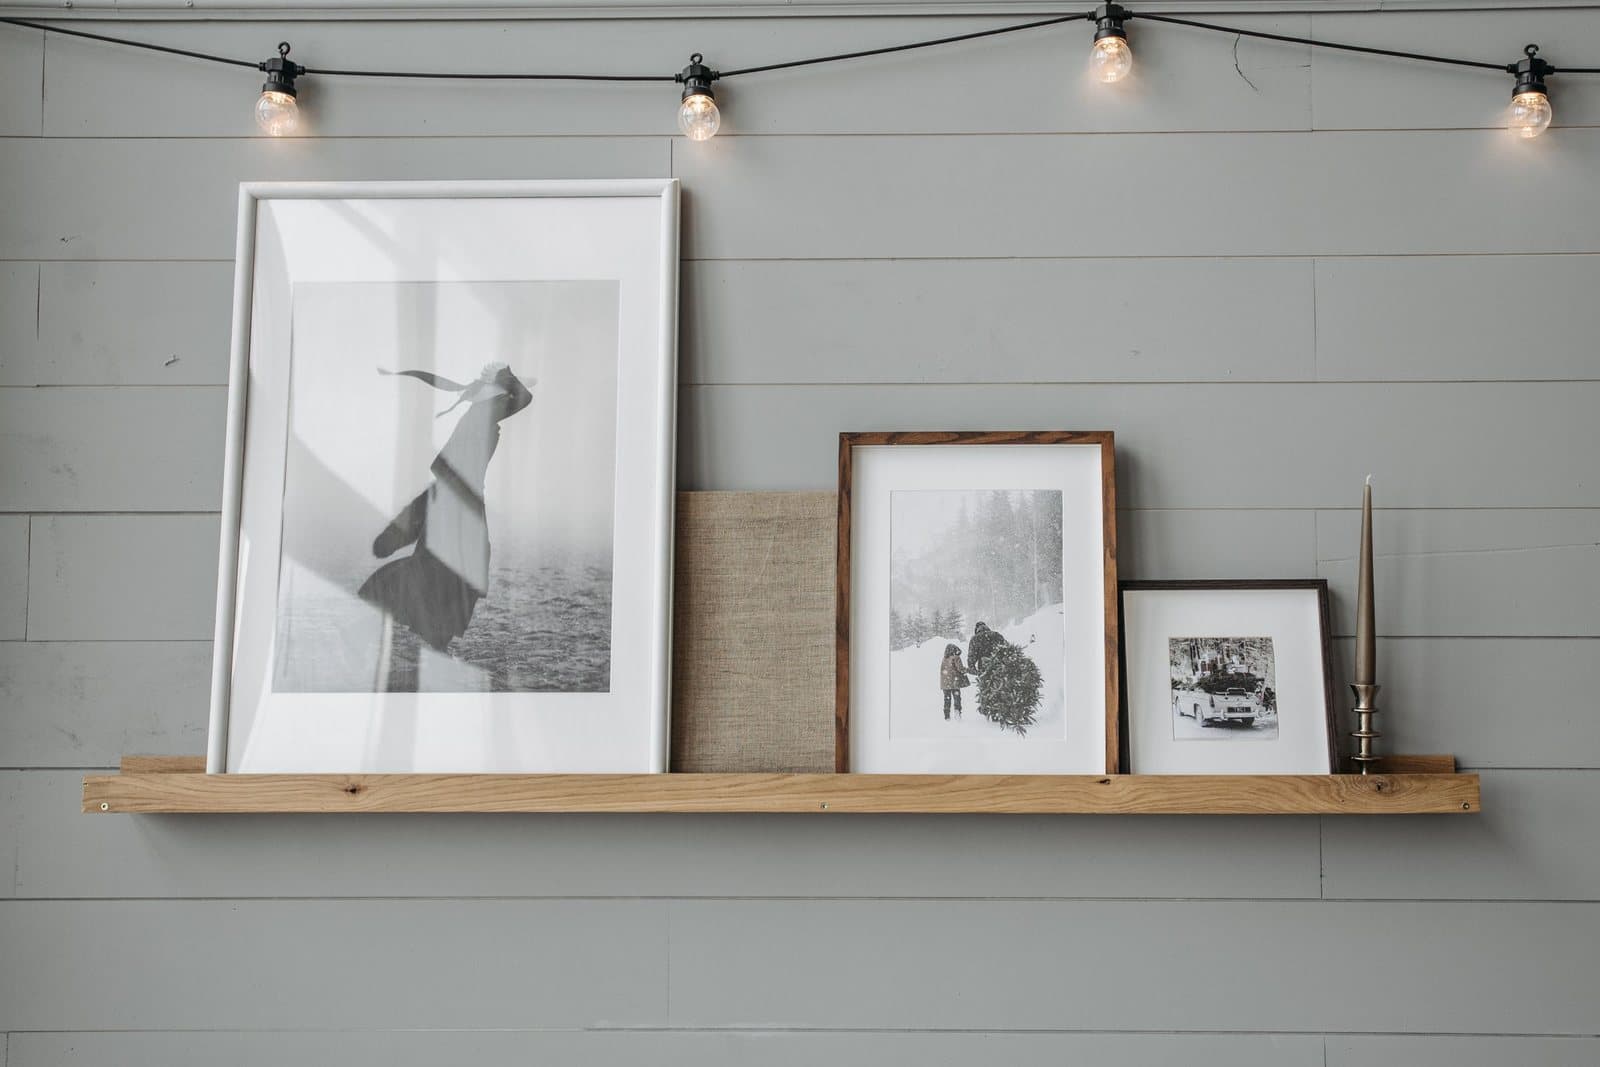
A picture ledge — a shallow shelf, typically 3 to 4 inches deep — holds art standing instead of hanging: pieces lean, layer, and swap in seconds, which makes ledges the natural home of rotating collections. The wall sees only the shelf’s own screws (or, for the smallest ledges, heavy-duty strips, with the shelf’s rating respected and the load kept honest). Tall pieces on a ledge should still be steadied at the top with a discreet strip or a museum-wax dot, because a leaning frame is a tipping frame in a house with doors that slam. Floor leaning — the big piece rested against the wall — belongs to the same family: rubber bumpers at the contact points, and anything tall enough to hurt someone gets a safety strap to a stud, especially where children climb, which is most of the kids’ room years. Leaning is a style; securing it is not optional garnish.
Weigh the piece before you trust the method
Every rating in this guide is in pounds, and almost nobody knows what their framed art weighs — glass is the surprise; a glazed 24 by 36 can weigh twice its unglazed twin. Weigh before choosing: stand on a bathroom scale holding the piece, then without it, and subtract. You at 160, you-plus- frame at 169: the piece is 9 pounds, and it gets the three-pair strip treatment from the section above, not the two-pair minimum. Guessing low is the failure mode behind most midnight crashes; ten seconds on a scale is the cheapest insurance in this entire guide.
Brick, stone, and other walls that vote no
Some surfaces defeat adhesive categorically. Brick and stone are textured, porous, and dusty at the microscopic level strips care about — but brick offers its own nail-free route: spring-steel brick clips that grip the brick’s top and bottom edges and hang the piece from the clip. They leave no mark when removed, hold modest weights honestly, and fail only where mortar sits flush with the brick face, leaving nothing to grip. Glazed tile in kitchens takes strips better than its reputation (clean it with alcohol first, and keep steam-heavy spots for the lightest pieces). Concrete, in lofts and basements, is a drilling material — no adhesive earns trust there — which pushes concrete-wall households toward rails, ledges, and leaning, the methods that never ask the wall’s permission in the first place. Removal day deserves its own honesty: strips release cleanly only at the pace the instructions describe — pull straight down, slowly, a foot of stretch if that is what it takes — and a rushed removal tears paint that patient hanging preserved for years.
When the art itself is the hanger
The newest answer is a format rather than a fastener: art made to apply directly to the wall and peel away cleanly — the family our wall peels page describes. Nothing is carried, so there is no weight limit to derate; the constraints move to the surface instead (smooth, clean, fully cured paint; texture breaks both the look and the seal) and to scale, since a peel’s size is the art’s size with no frame to borrow presence from. How large that should be follows the usual ratios in the complete wall art size guide. For renters it solves the whole problem at once, which is why the format keeps growing — and why we hold it to the same honest standard: “removable” should mean the wall is unmarked when you leave, and any seller using the word owes you that outcome in writing.
How to hang pictures without nails — and when to drill anyway
Honesty about how to hang pictures without nails ends with its boundary. Drill — or ask permission to drill — when the piece is genuinely heavy (as a working line, anything much over about 20 pounds), when it is valuable or fragile, when the wall is wallpapered or heavily textured (adhesive fails there anyway), when the room is humid, or when the piece hangs where a fall lands on people. A drilled hole is five minutes of spackle at move-out; a fallen frame is a broken frame, a gouged floor, and sometimes worse. The methods in this guide cover the great majority of home art, which is light, on painted drywall, in dry rooms — hung there, they hold for years. The rest of the questions readers send us on the subject are collected in our FAQ; bring it the specific wall and the specific piece, because in nail-free hanging those two nouns decide everything. When drilling wins, the fixings themselves are covered in D-rings, cleats, and other picture hardware.
More in How-To: Sizing, Hanging & Arranging
Continue exploring: How-To: Sizing, Hanging & Arranging guides · All guides