

Multi Panel Canvas Art: Splitting a Scene
Split a wide scene well and the gaps feel like window bars. Split it through a face or a lighthouse and they just feel like damage.
Key Takeaways
- The divide lines are the whole game: splits work when flowing, horizontal scenes — coastlines, ranges, skies, forests, abstract washes — cross the gaps on expendable ground like open sky or water, and fail when a divide lands on a face, a single tree, a lighthouse, or a centered sun.
- Odd-numbered sets have a center panel that anchors the composition, while even sets have only a central divide; a triptych is the most forgiving configuration, and when in doubt choose fewer panels with more image in each.
- Do the arithmetic on the full span: gaps of one to three inches count in the total width, so three 20-inch panels with two 2-inch gaps span 64 inches, not 60 — and hold the chosen gap ruthlessly consistent.
- The gallery wrap eats image at every edge, including the inside edges where panels meet, so keep focal points and strong horizon features well away from the divide lines.
- Hang by the gallery method: lay the set out on the floor first, start with the center panel of an odd set, work outward with a spacer cut to your gap width, and check level on every panel, not just the first.
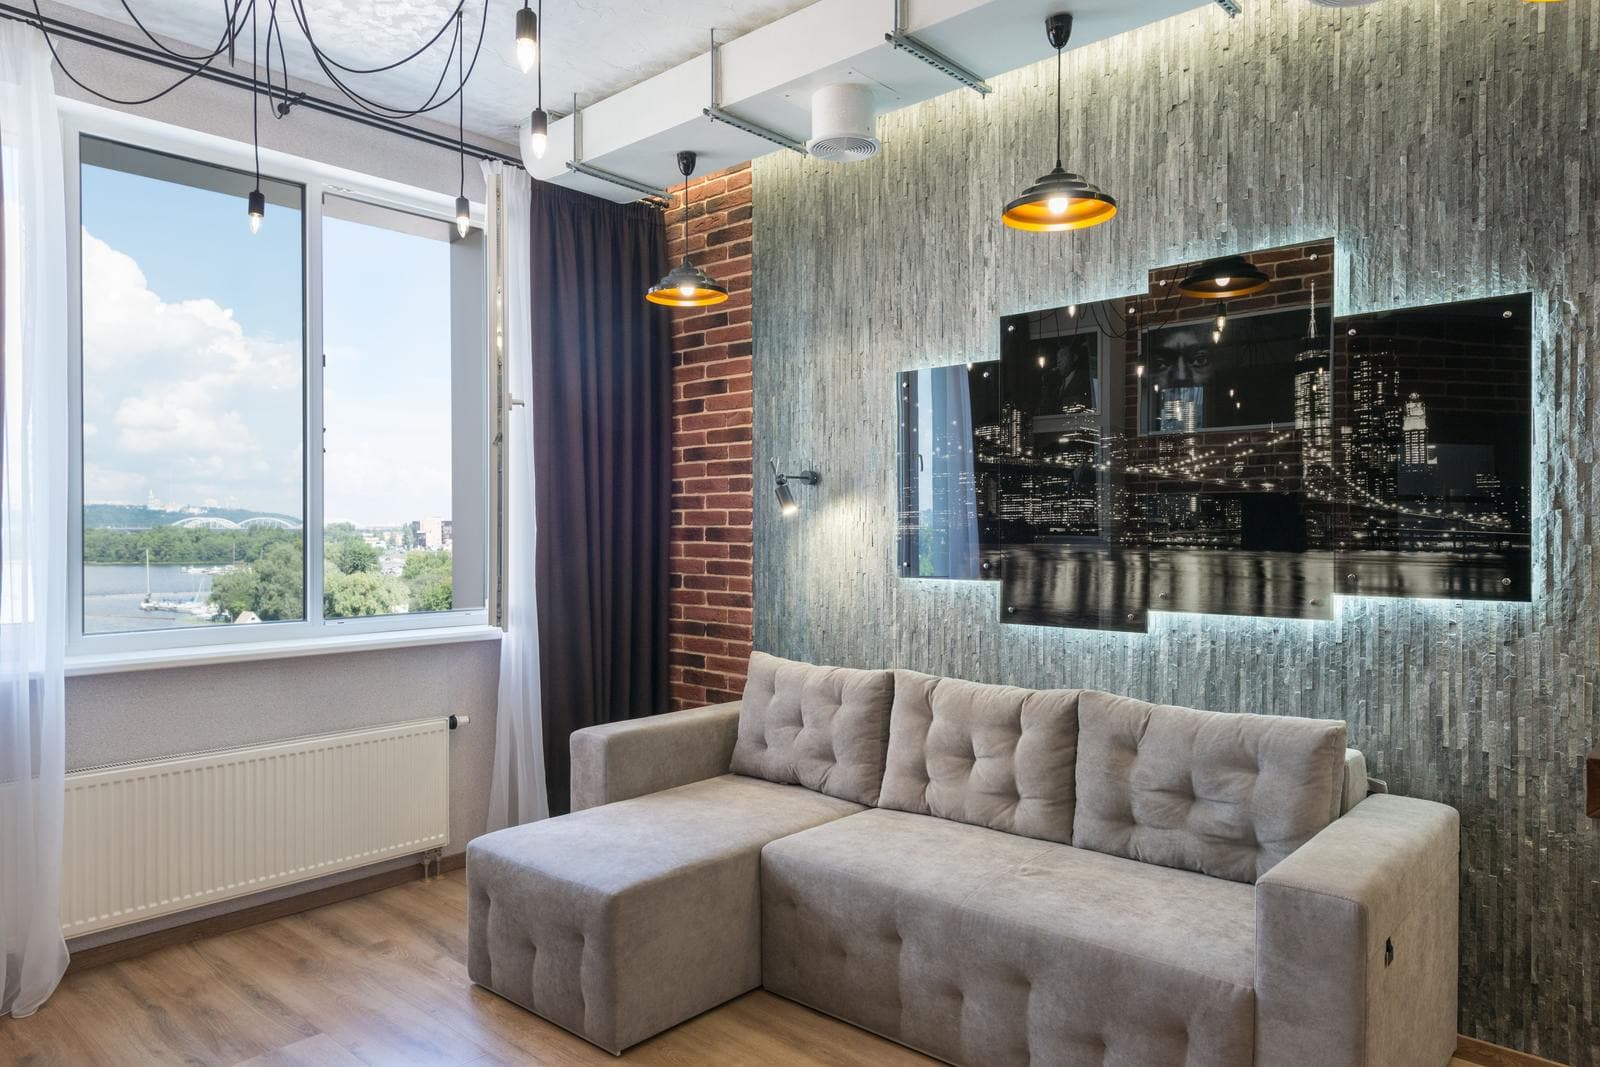
Multi-panel canvas art takes one wide image and divides it across two or more separate canvases that hang together as a single composition: a diptych has two panels, a triptych three, and sets of four or five continue the idea. The image flows across the gaps as if the wall itself had been cut into the picture. Done well, it is the most architectural thing canvas can do — the canvas format turned into a window with mullions. Done badly, it is a chopped-up photograph. The difference lies in the image you choose and the arithmetic you do before ordering.
One image, split — or a set that belongs together
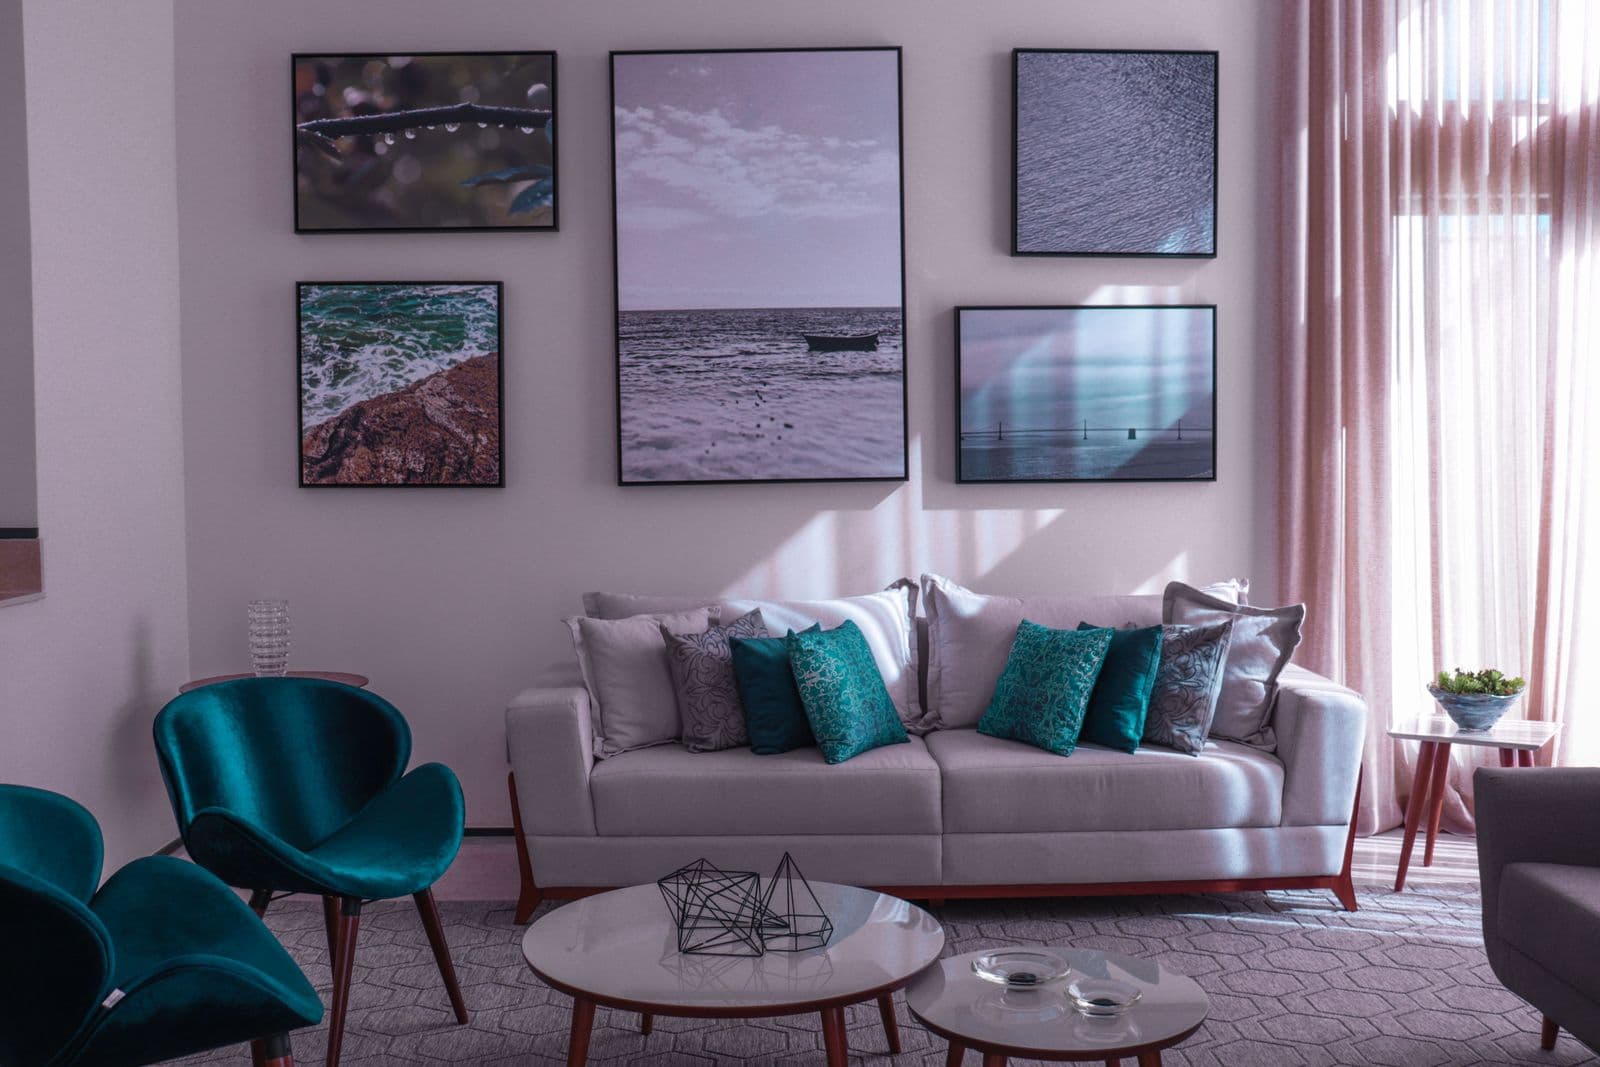
Two different ideas share the multi-panel name. In a split image, a single scene is printed across the panels and the eye reassembles it; the gaps act like the bars of a window. In a coordinated set, each panel carries its own complete image — three botanical studies, a sequence of waves — chosen to share palette, subject, and scale. This guide concentrates on split images, because they carry the extra risks, but the spacing and sizing rules below apply to both. One hybrid is worth knowing: a split image in which the outer panels hold quieter sections of the same scene, letting a strong central panel carry the subject while the sides provide the air around it.
Choosing images for multi panel canvas art
The divide lines are the whole game. A split works when the scene has strong horizontal or flowing movement — coastlines, mountain ranges, skies, forests, abstract washes — that reads continuously across a gap of an inch or two; these are, overwhelmingly, landscapes and wide scenes, the subjects that want width in the first place. Wide scenes built for the shape live in the panoramic family for a reason. The failures share a cause: a divide landing on the wrong thing. A vertical split through a face, a single tree, a lighthouse, a centered sun — anything the eye treats as one object — makes the gap feel like damage. The fix is compositional: choose images whose subjects sit comfortably inside panels, with the divides crossing expendable ground — open sky, water, meadow, texture. Busy, detailed scenes forgive divides because the eye is busy; very minimal images forgive them because there is nothing to break. The dangerous middle is one strong subject on a quiet ground: check exactly where the lines fall before you order, because on a real set they cannot move.
How many panels: two, three, or five
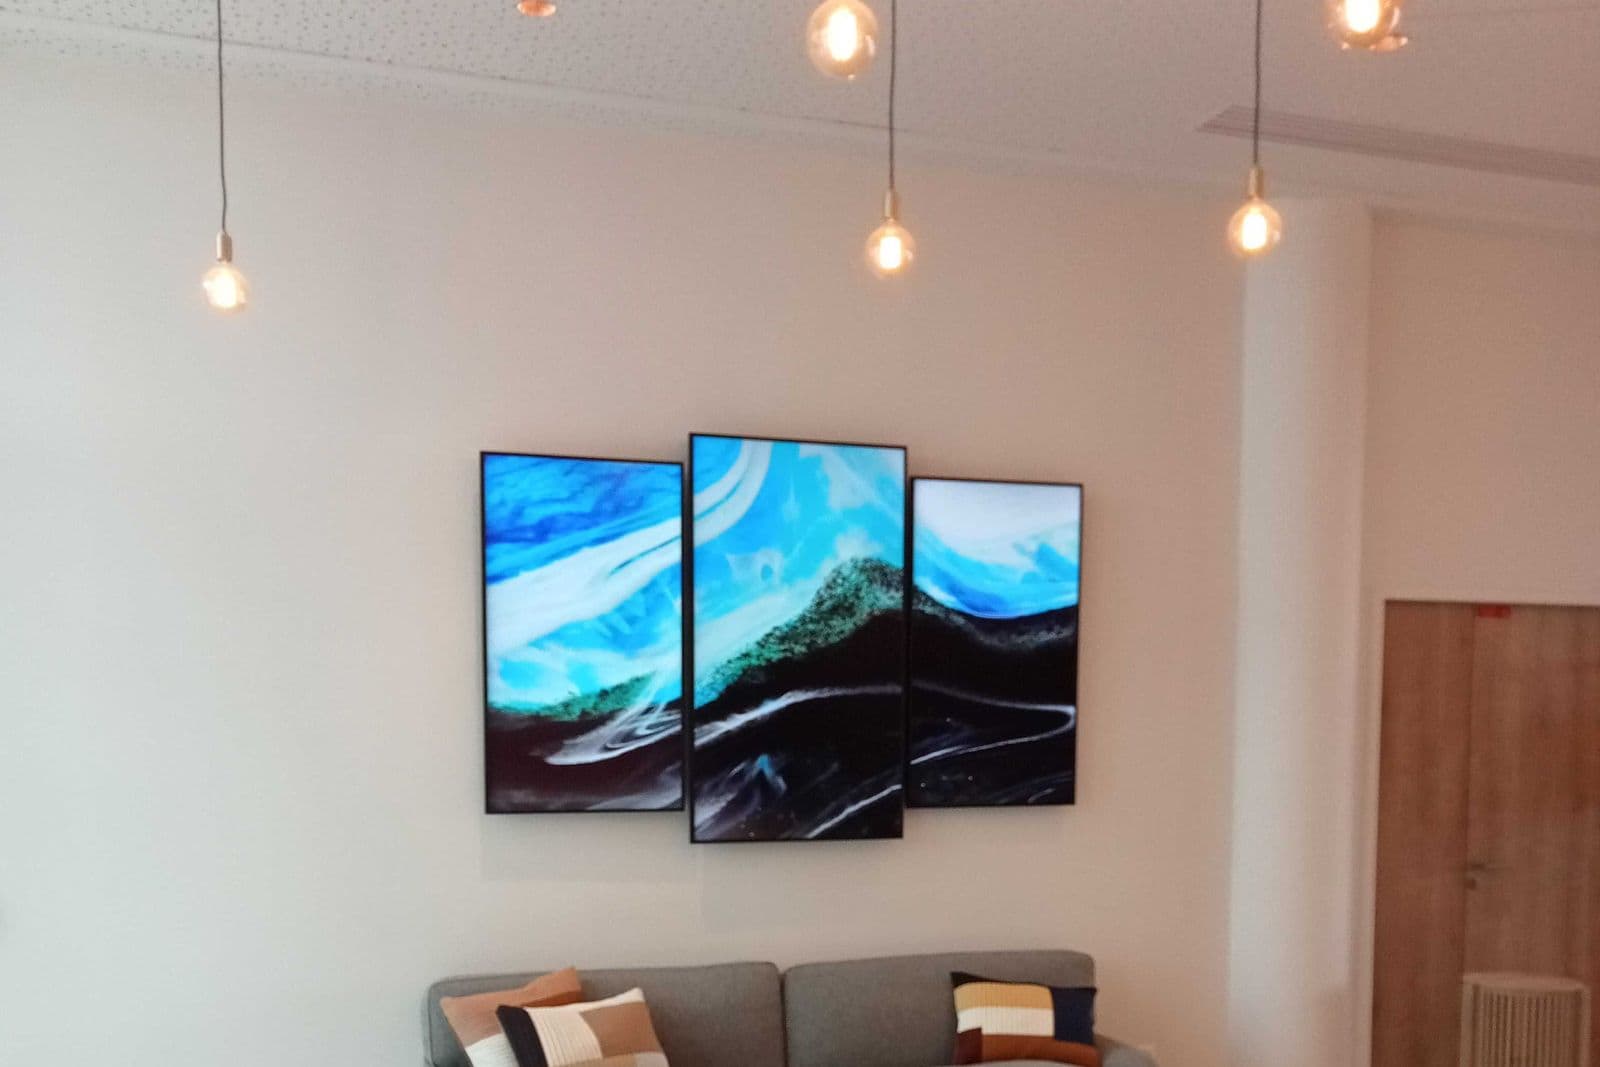
Count matters beyond taste. Odd-numbered sets — three, five — have a center panel, and a center panel gives the composition an anchor: the middle of the scene sits in the middle of the set, which suits symmetrical scenes and sofas centered on a wall. Even sets — two, four — have no center, only a central divide, so they suit scenes with two balancing masses or an off-center subject, and they punish scenes whose subject belongs in the middle. More panels also mean more divides to place well: a five-panel split gives a wide scene a colonnade rhythm, but it cuts the picture four times, and each cut must land on expendable ground. When in doubt, choose fewer panels with more image in each; a triptych is the most forgiving configuration ever devised, which is why it has been in continuous use for centuries.
The wrap eats image — plan for it
Gallery-wrapped panels carry the image around their edges, and that wrap consumes a border of the picture on every side — including the inside edges where panels meet. Across a divide, then, the visible scene loses two wrapped strips, one from each neighboring panel, plus the physical gap between them. Fine detail placed right at a divide can seem to jump or thin where it wraps out of sight. That is a second reason to keep focal points — and any strong horizon feature — well away from the divide lines. Some makers offer a mirrored or solid-color edge instead of continuing the image around; for multi-panel sets, the continued wrap is what preserves the window effect, so it is worth confirming which edge treatment a set uses before you order it.
Spacing: the gap is part of the picture
Panels hang with a consistent gap between them, and the gap is a design decision, not an accident. One to three inches covers most sets: a tight gap of around an inch reads as a single image with seams, while wider gaps of two to three inches read as separate panels in conversation. Whatever you choose, hold it ruthlessly consistent — an uneven gap is the first thing a viewer notices, before the image itself. And the gaps count in your total width. Three 20-inch panels with two 2-inch gaps span not 60 but 64 inches. Every sizing calculation for a set must be done on the full span, panels plus gaps, or the set will arrive wider than the wall plan allowed.
Sizing the set as one rectangle
Treat the whole arrangement as a single piece of art and apply the usual furniture rule: above a sofa, the total span — panels and gaps together — should run about two-thirds to three-quarters of the sofa’s width. For an 84-inch sofa, that is a span of roughly 56 to 63 inches: three 18-inch panels with two 2-inch gaps give 58, comfortably inside the band. Hang the set so its vertical center sits at the same eye level you would give one large piece, with the bottom edge roughly 6 to 8 inches above the sofa back — the full living room guidance applies unchanged, because to the room the set is one picture. Even sets of equal panels in a straight row suit symmetrical rooms; five-panel sets often step the panel heights, tallest in the middle, which adds rhythm but demands a scene that tolerates it — stepped sets work best with skies, waves, and abstracts, and worst with a horizon that must stay level.
Hanging a set straight
Multi-panel sets punish improvisation, so borrow the gallery method. Lay the set out on the floor first, gaps included, and confirm the scene assembles the way you expected — panels from a split print can be ordered wrongly by tired eyes. Cut paper templates to the full span, tape them up, and live with them for a day if the wall is prominent. When hanging for real, start with the center panel of an odd-numbered set, hung at the planned height and leveled; work outward one panel at a time, using a spacer — a scrap of wood or a folded card cut to your gap width — to set each gap identically, and check level on every panel, not just the first. A set that drifts by a degree per panel ends visibly downhill, and because canvas is light, correcting a fixing is always easiest before the next panel goes up.
A word about the source image
A split set spends detail in a way a single print does not. Each panel is printed from its own slice of the file, and the full span of a wide set asks a lot of the original image: a photograph that holds up handsomely at twenty inches may run out of resolution spread across sixty, showing softness that no arrangement can disguise. Wide, high-resolution sources — a proper panoramic photograph, a large-format landscape — are the raw material this format was made for, and phone snapshots are its most common disappointment. Judge the file at the size of the full set, not the size of one panel, and remember that the divides hide many sins but soft focus is not one of them.
Multi panel canvas art: when to split
Split a scene when the wall is wide, the image is wider, and the room can use the rhythm the divides create — a long sofa wall, a hallway, the long side of a dining room; the general problem of filling a large wall well — anchors, scale, and breathing room — has its own guide. Keep the image whole when it has one centered subject, when the wall is modest, or when the picture’s power is in its stillness; a single quiet landscape rarely improves for being cut. The multi-panel format is also not a way to make a small image feel bigger — stretching one scene across more wall always spends detail. Multi panel canvas art is a way to let a genuinely wide scene occupy a wall the way it occupied the eye: in sections, with the wall itself taking part — a variation on plain canvas, which sits in the full survey of formats alongside paper, metal, acrylic, wood, and peels.
More in Formats & Materials

Continue exploring: Formats & Materials guides · All guides